Infrared cabins are designed to be assembled by their owners, and the design is genuinely good: panels hook together with buckle clasps, connectors are keyed, and the whole thing goes up in an afternoon. What surprises people is the weight and the awkwardness rather than the complexity. This guide covers what the job involves and what to check before the first run.
It is a two-person job — this is not optional
Every cabin listing says two people. The reason is not the total weight but the geometry: a wall panel is tall, flat and heavy enough that holding it upright and square while locating clasps with the other hand is beyond one pair of arms. The roof panel makes the point emphatically.
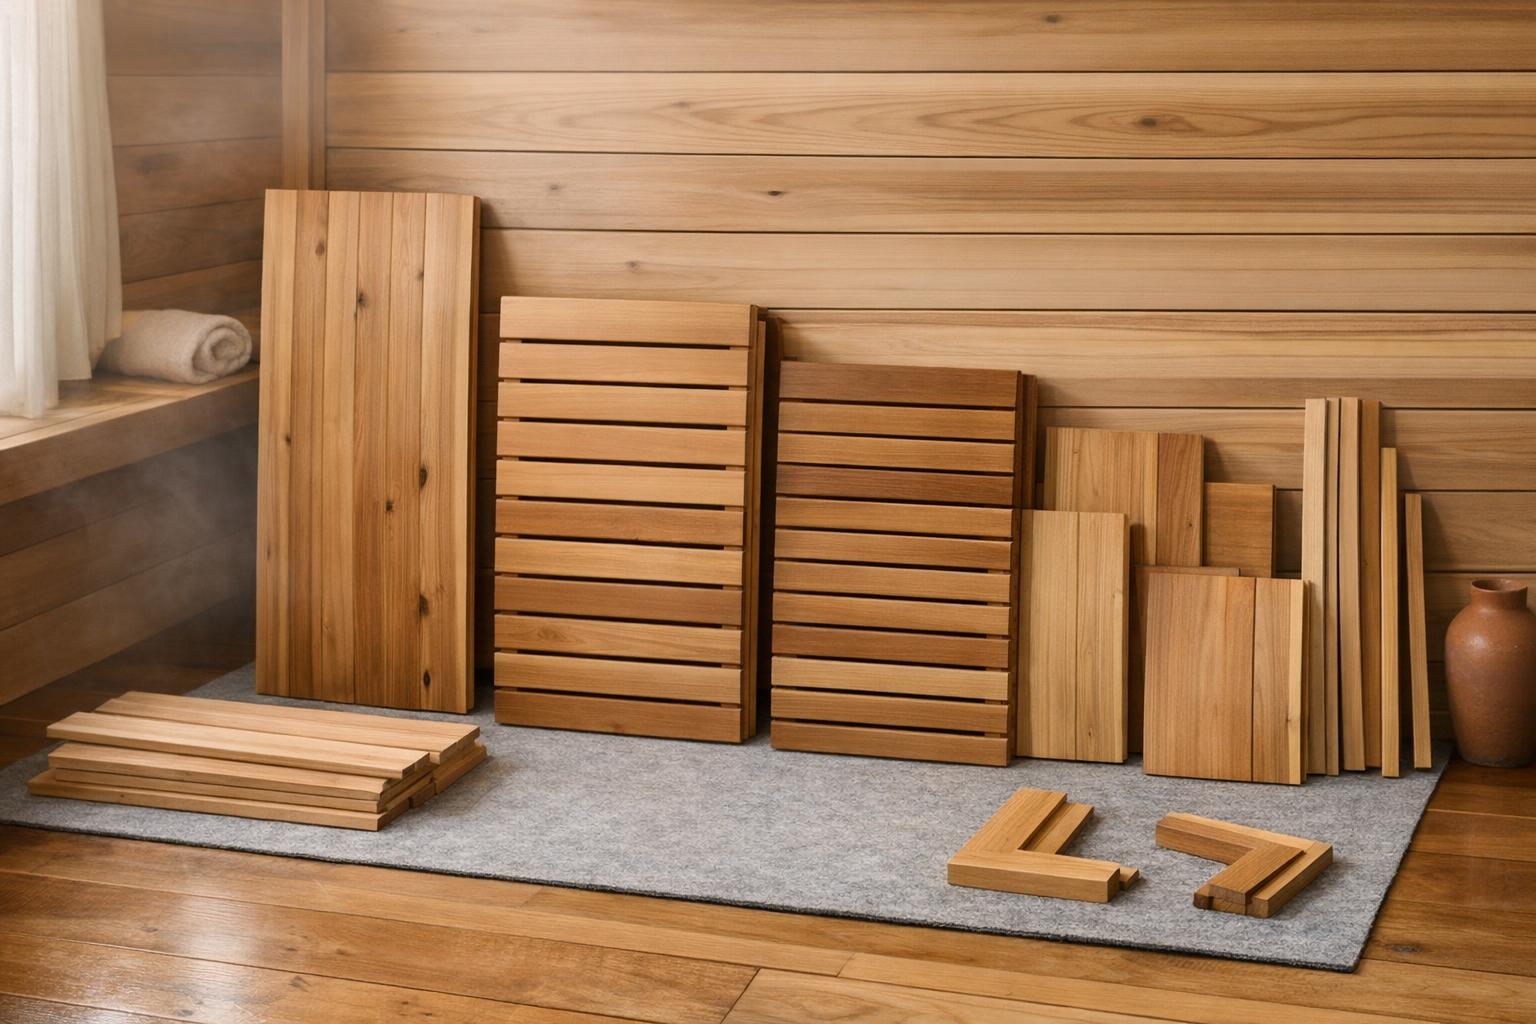
Budget two to three hours for a two-person cabin with two people who have not done it before. Unbox everything first, lay the panels out in assembly order, and read the manual through once — the sequence matters more than any individual step, because panels lock each other in.
Tools and the staging area
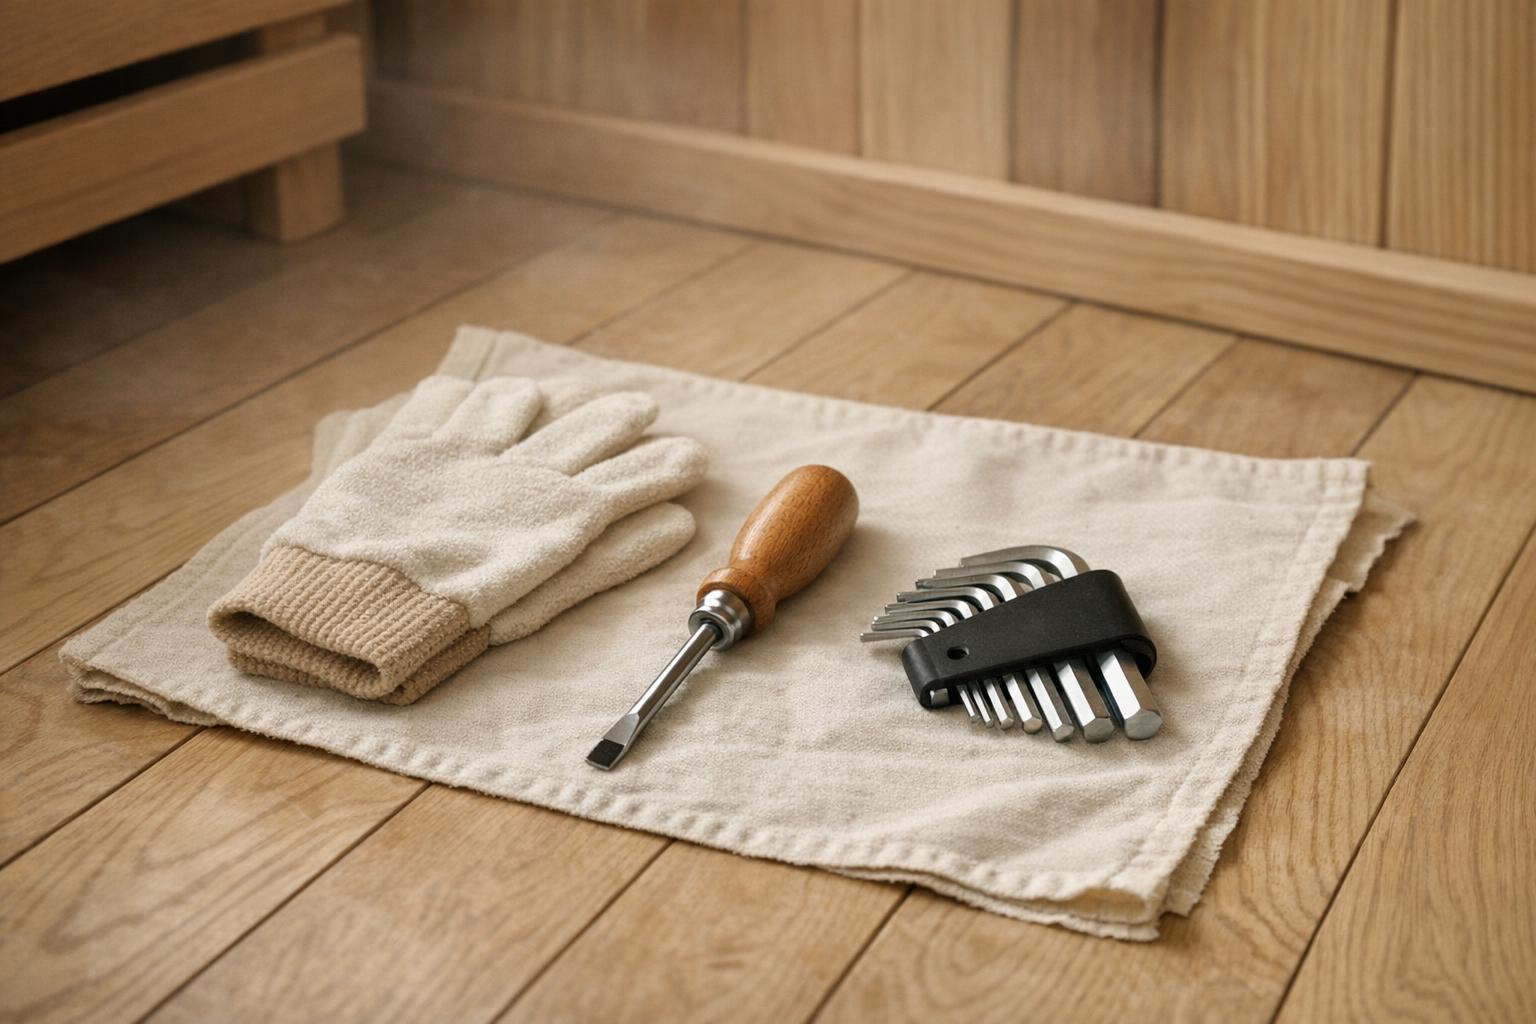
Most cabins need almost nothing. The buckle clasps are hand-operated; a screwdriver is occasionally needed for the bench or a control panel; a rubber mallet helps seat panels that are close but not quite home.
- A second person, present for the whole assembly rather than on call.
- A screwdriver set for bench brackets and control fixings.
- A rubber mallet or a padded offcut for persuading panels.
- A blanket or flattened carton to lay panels on so edges and glass stay unmarked.
- A box knife, and the patience to cut cartons open rather than tear them.
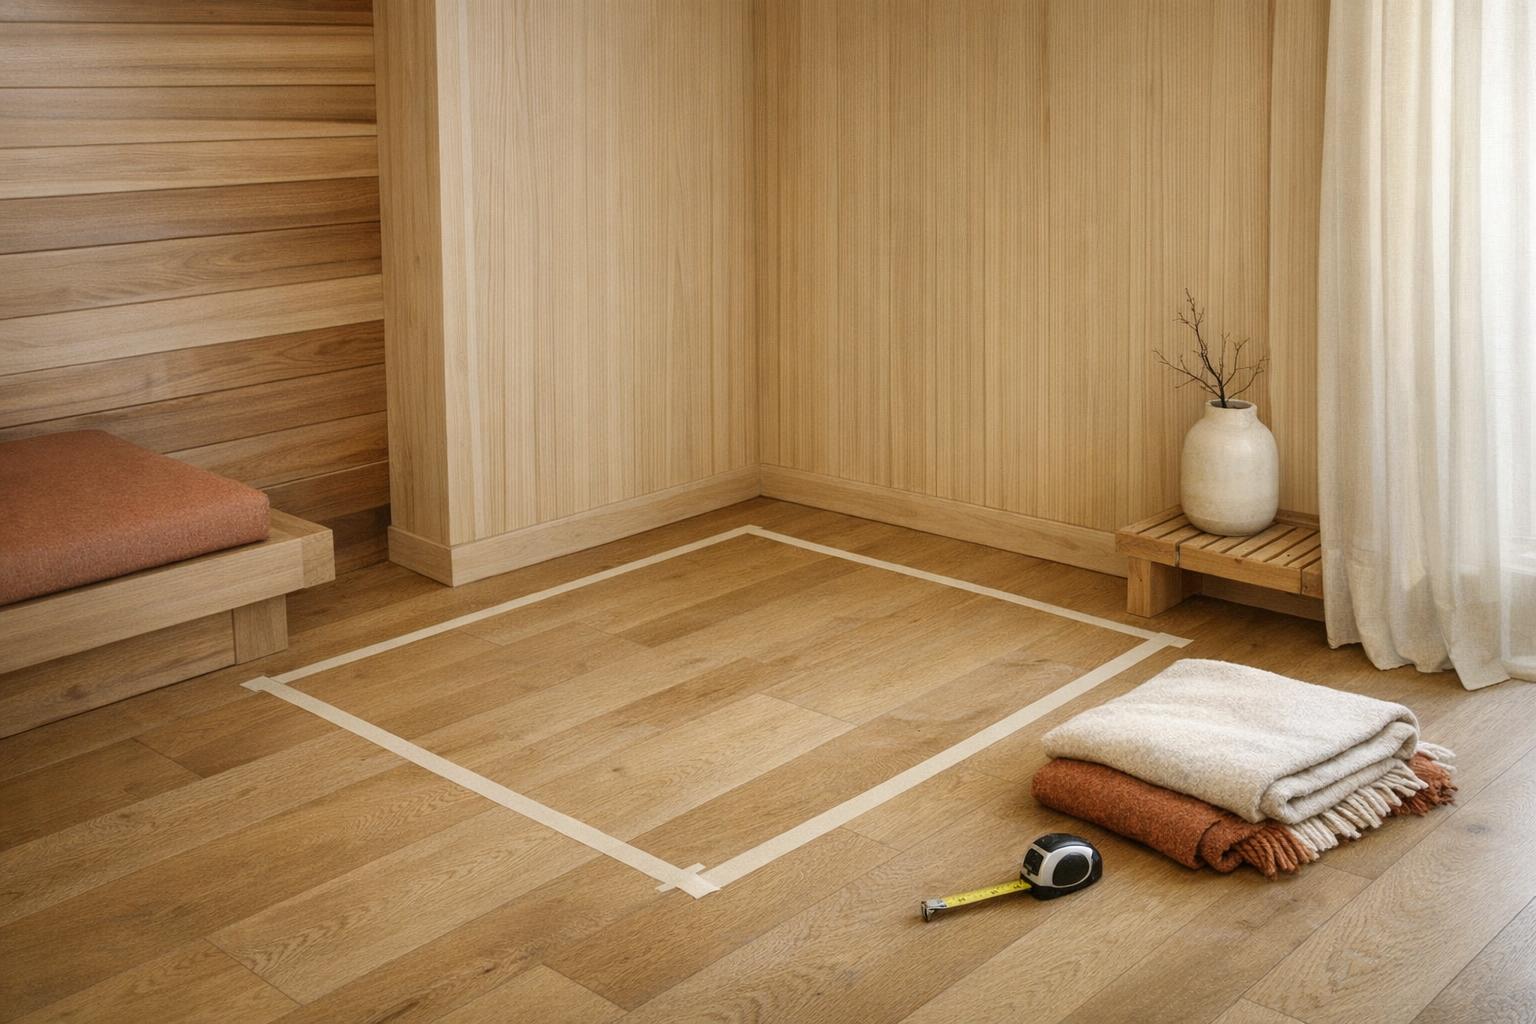
Assemble in the final position. A built cabin does not slide across a room, and the placement guide covers choosing that position before delivery day.
The sequence and the wiring connections
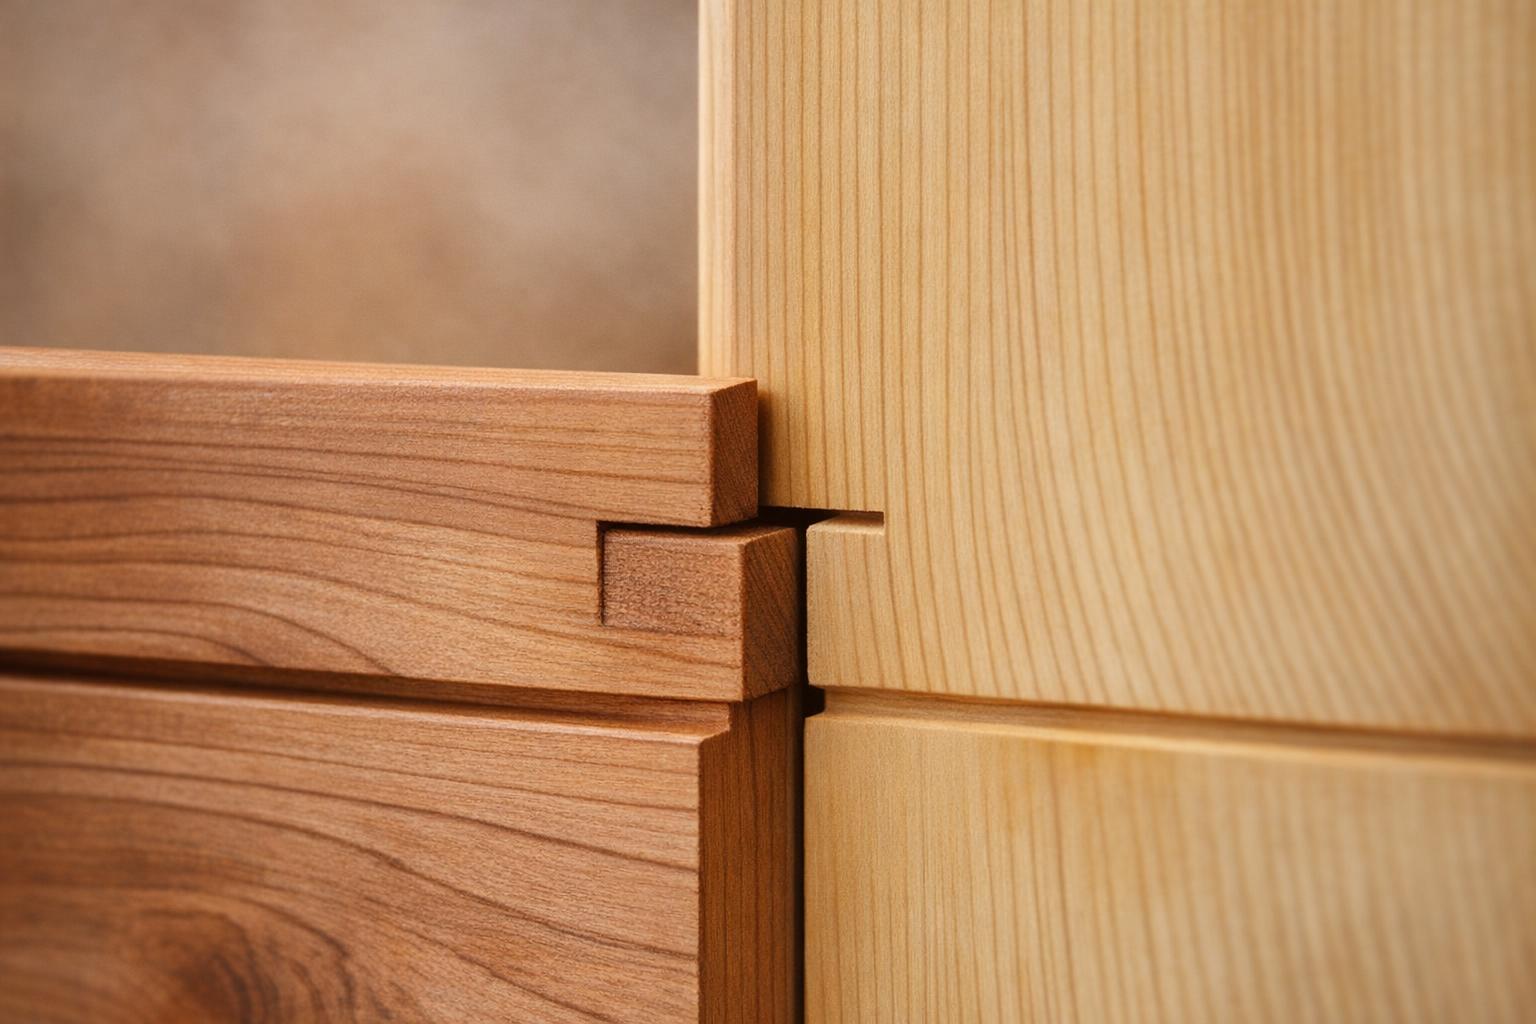
The usual order is floor, then back panel, then sides, then the door-bearing front, then the bench, then the roof. Panels carry keyed low-voltage connectors for the heaters, lighting and control panel; these join by hand as the panels meet and are designed to fit one way only. Do not force a connector that resists — it is in the wrong socket.
Leave every clasp slightly loose until all panels are located, then tighten around the cabin. Tightening as you go pulls the structure out of square and the door will not seat.
The cabin plugs into the outlet the listing specifies. That connection — plug into existing receptacle — is the entire extent of the electrical work an owner should do. Anything beyond plugging into an existing standard household outlet — a new circuit, a new receptacle, any change to your wiring — belongs to a licensed electrician. We publish what the listing states and stop there. The power requirements guide covers how to know which outlet yours needs.
The first run and what to check
Manufacturers generally ask for an initial run at a moderate setting with the cabin empty and the door ajar, to clear the manufacturing smell from new wood and panel materials. Check the manual for the recommended duration; twenty to thirty minutes is typical.
During that first run, walk around the outside and check the door closes flush along its whole edge, the control panel responds, every heater panel warms, and the interior light and any audio work. Problems found in the first hour are warranty conversations; problems found in month three are arguments.
Keep the cartons and the packing until you are satisfied. Then read the first sessions guide for how to set up a comfortable routine, and the maintenance guide for keeping the wood in the state it arrived in.
The mistakes that cost an afternoon
Assembly goes wrong in a small number of repeatable ways, and all of them are avoidable by reading the manual before the first panel goes up rather than during.
- Assembling somewhere other than the final position. The cabin does not move afterwards. This is the expensive one.
- Tightening clasps as you go. Pulls the box out of square and the door stops seating flush.
- Forcing a connector. They are keyed; resistance means wrong socket, not more force.
- Skipping the panel layout step. Panels look similar and go in a specific order; sorting them first saves more time than it costs.
- Working alone “just for the side panels”. The side panels are exactly where a second pair of hands stops a panel landing on the glass.
The other quiet time-sink is lighting. Cabin assembly happens in whatever corner the cabin will live in, which is frequently the darkest part of a basement, and locating a keyed connector by feel in poor light is how connectors get forced. A work light is worth more to this job than any tool.
If a step in the manual does not match the parts in front of you, stop and contact the seller rather than improvising. Cabins ship in multiple cartons and a missing hardware bag is a common, easily resolved problem — provided you find out before half the cabin is standing.